Basic LCD screen installation for CCFL LCD screens
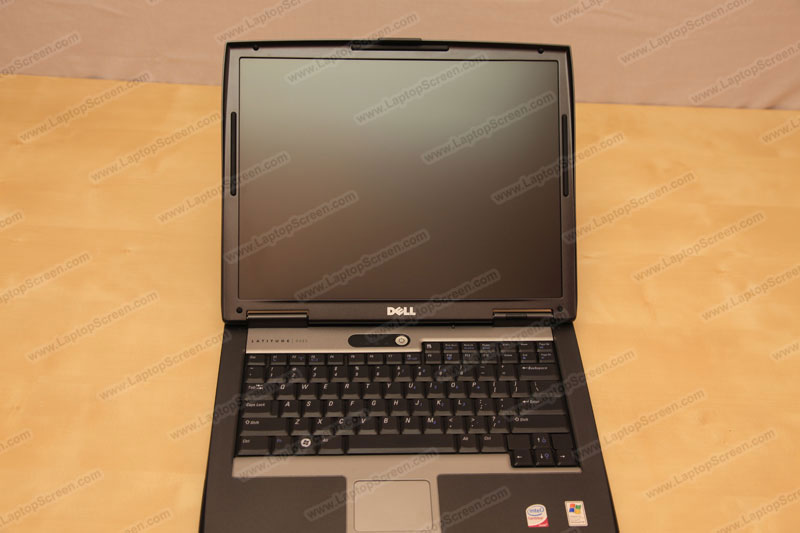
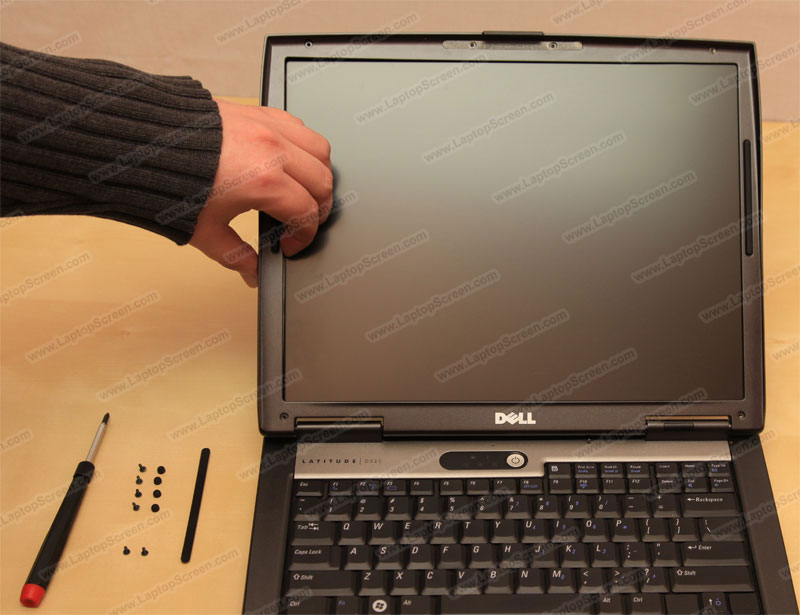
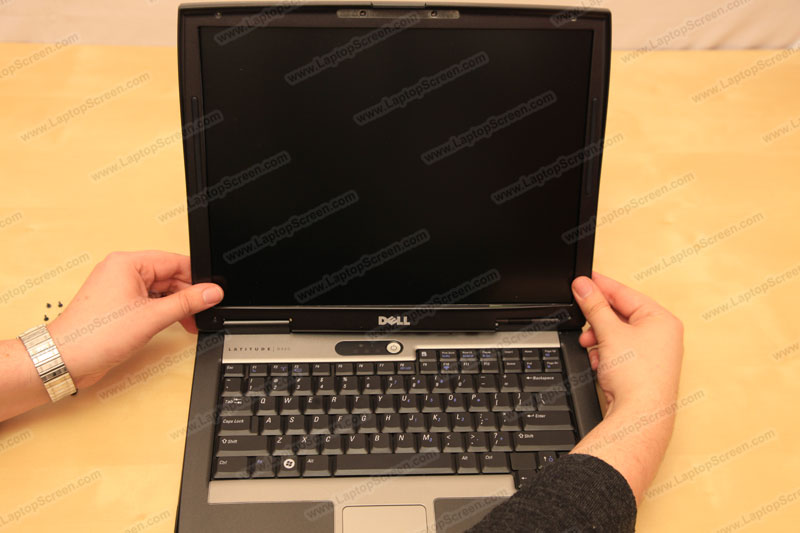
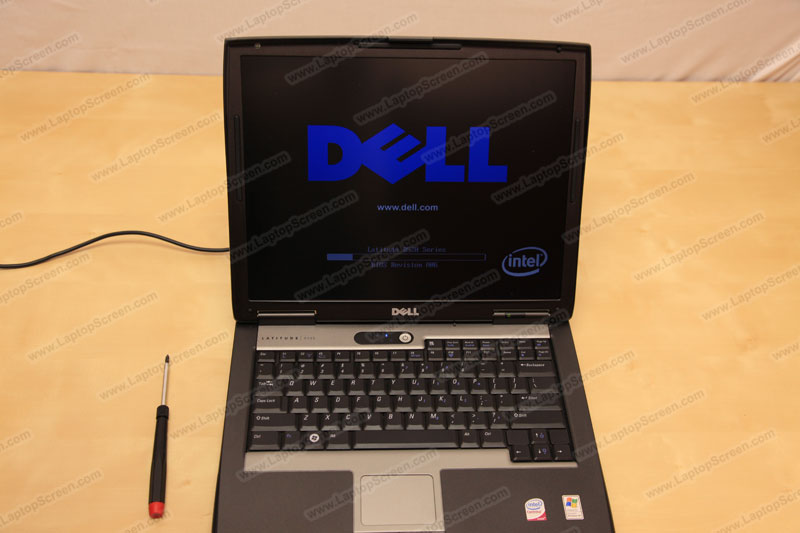
Here we have a Dell latitude D520, but these instructions are applicable to most typical laptops
IMPORTANT! Laptop internal parts, cables and sockets are very fragile and are easy to crack, to rip off or to brake. Please be extra careful.
It is also a good idea to use some sort of organizer to organize screws by the steps of disassembly so you can follow the process in reverse order when assembling the screen.
1) Make sure to disconnect the power and remove the battery before changing the screen.
Failure to remove all sources of power may result in permanent motherboard damage.
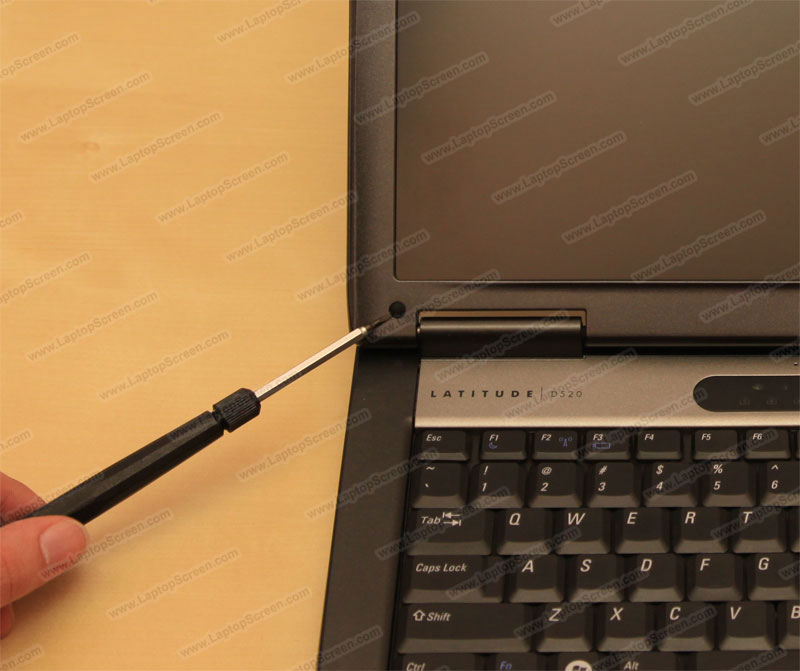
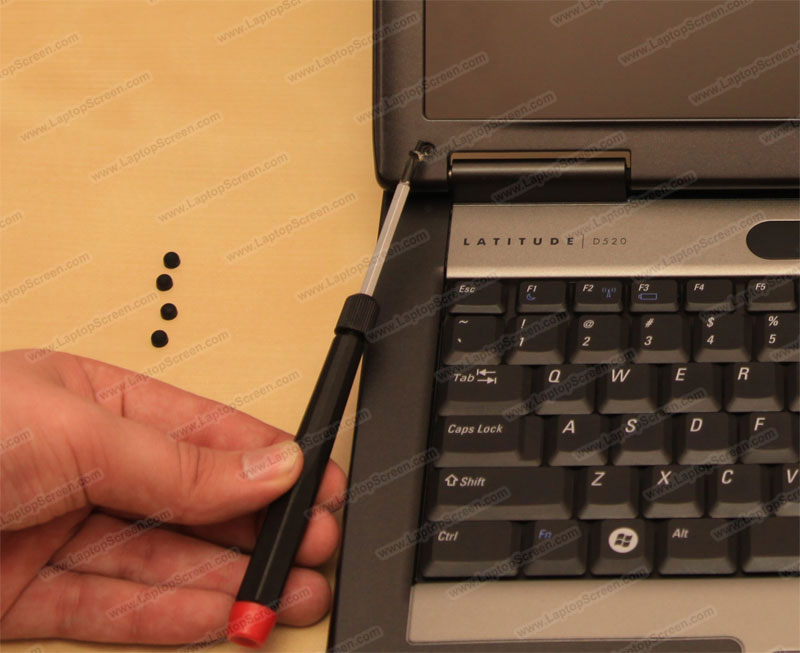
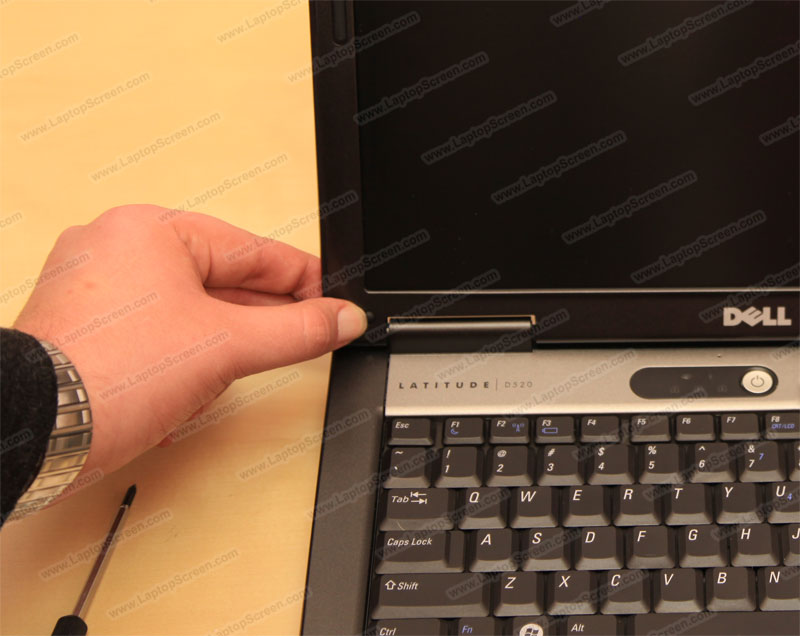
2) Using a pick or a flat screw driver pick out the rubber/plastic screw covers.
Make sure to check all the rubber covers for screws.
As well there might be extra covers and screws on the sides of the display assembly.
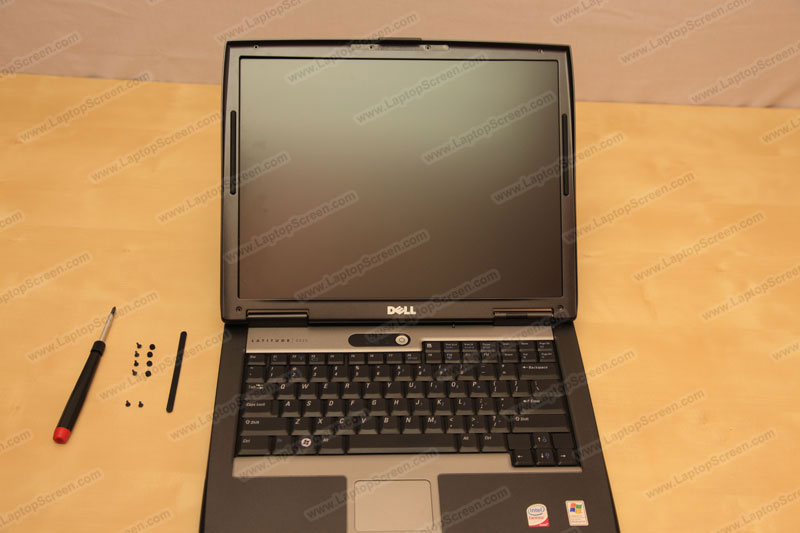
3) Remove all visible screws from the front of the bezel. Sometimes there might be screws on the sides as well.
It is recommended to place the screws in order of disassembly, to keep track of the correct locations.
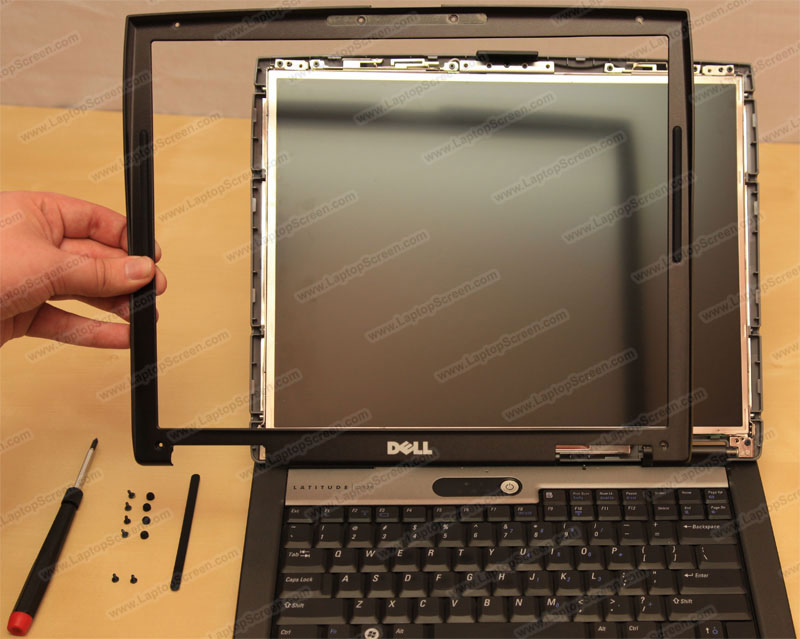
4) Make sure all the screws are removed and proceed to remove the bezel.
Bezel is a plastic frame covering the internal mountings of the LCD panel.
It is fairly fragile and should be treated with care.
5) Starting from the side, carefully pry the plastic away from the screen.
On some laptops it is easier to start from the bottom.
Much force is not necessary but if you encounter difficulty, move a little bit further, try a different spot.
The bezel will unsnap. You may need to slide laptop lid latch to completely remove the bezel.
6) The bezel snaps out fairly easy, if it seems too difficult, make sure you haven't left any screws in.
As well make sure you are not pulling on any internal cables.
Some times the bezel might be glued to the LCD panel,
In these cases using an exact-o-knife to cut the glue will keep the bezel in good condition.
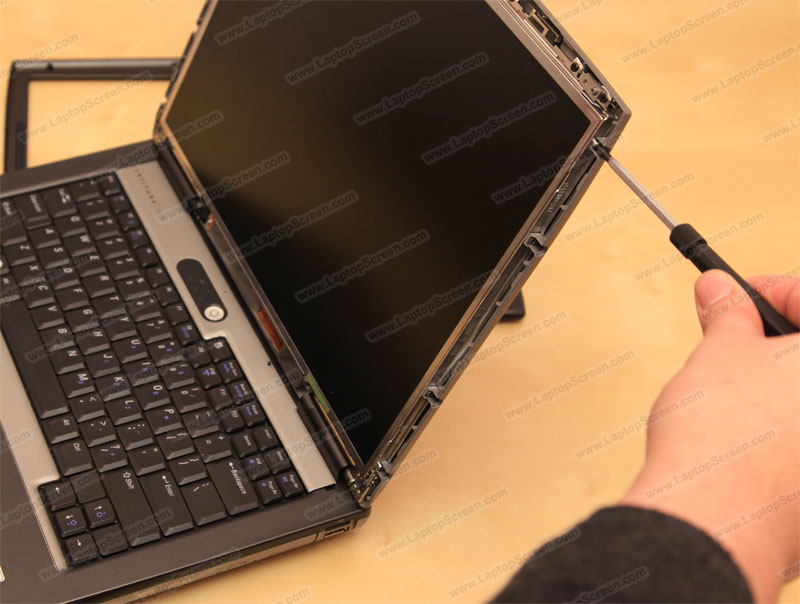
7) Remove the small screws holding the LCD panel in. There are typically 4 on each side.
Sometimes a few other screws may need to be removed from the LCD frame, in order to gain access to the main mounting screws.
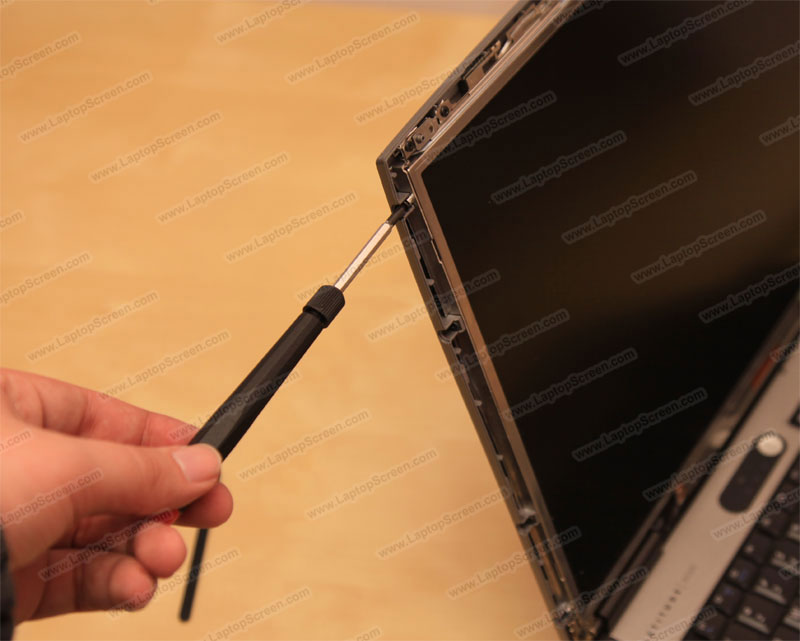
8) Four screws on the left and four screws on the right.
On this model the mounting screws are easily accessible, on some laptops
You would need to free up the frame first.

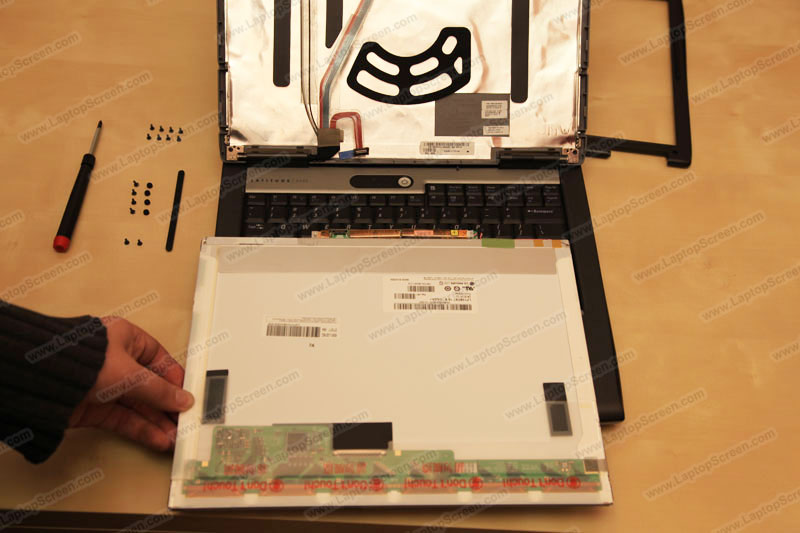
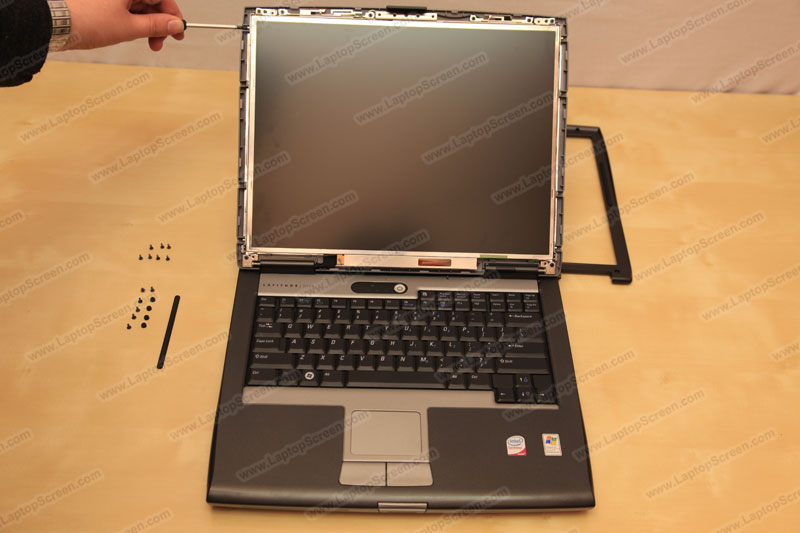
9) Tilt the screen towards the keyboard, and carefully lay it down.
Make sure the Wi-Fi cables, WebCam cables and a microphone cable are not getting caught/pulled on.
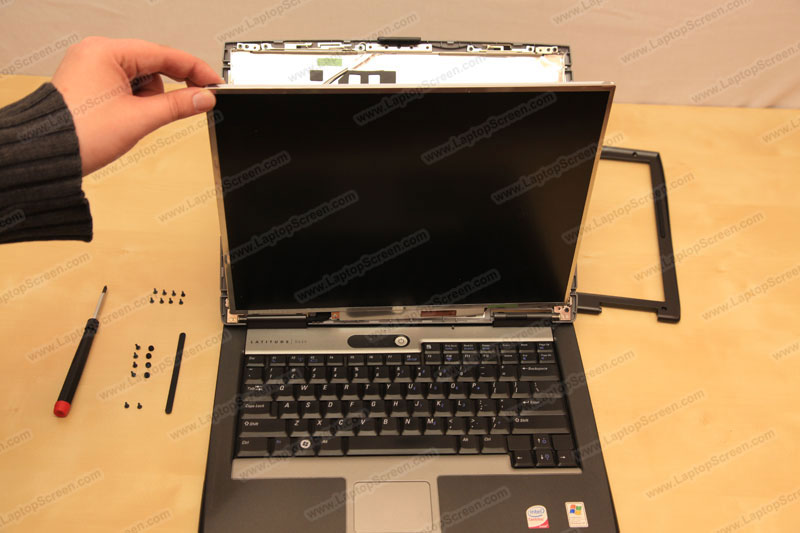
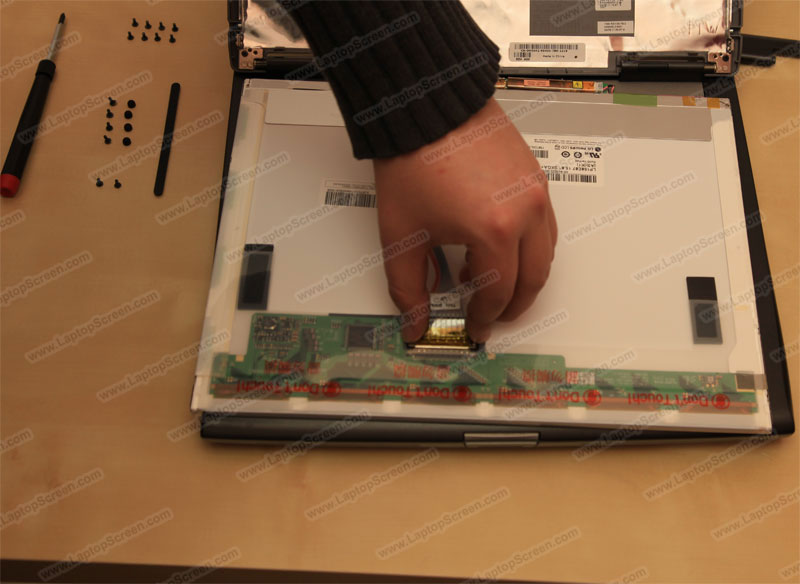
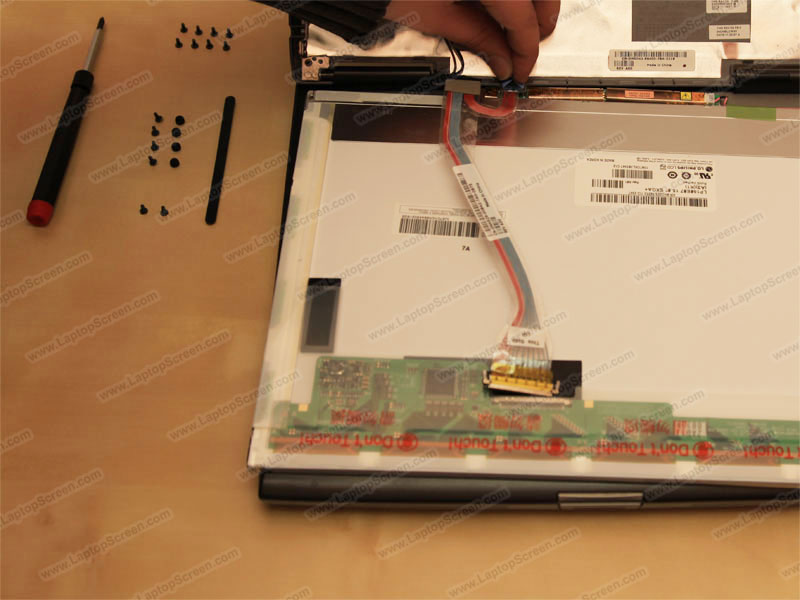
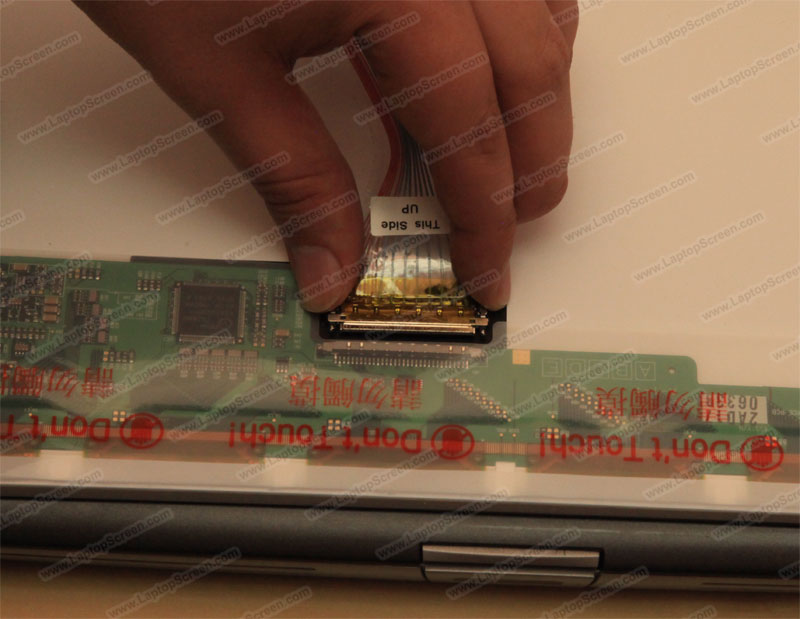
10) Disconnect the video connector by gently squeezing the tabs on both sides and pulling away from the circuit board.
ATTENTION: Video connector is very fragile, take your time, if broken, the entire
Video (LVDS) Cable would need to be replaced, resulting in delay to the repair.
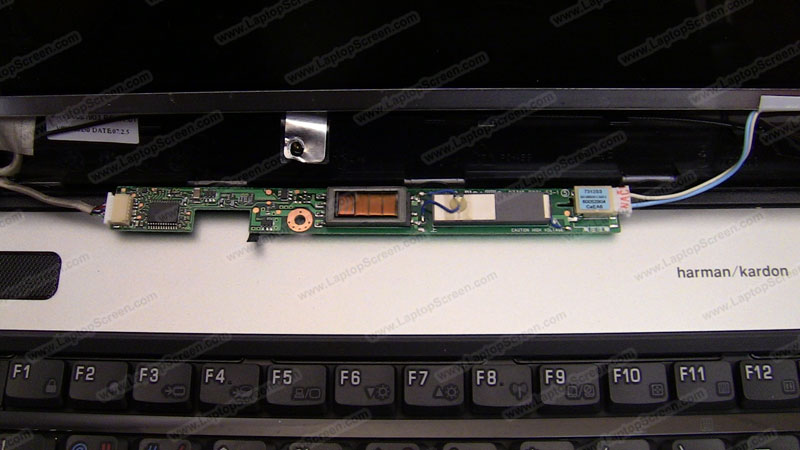
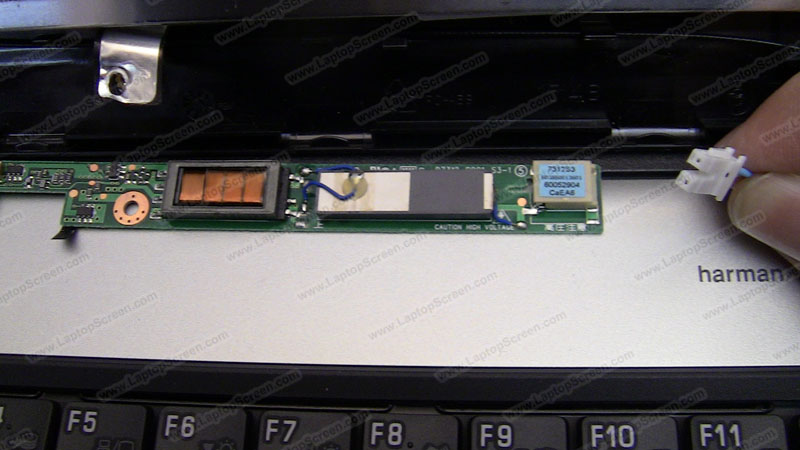
11) Disconnect the inverter connector. It may look different on other laptops. As well laptops which use LED back-lit screens do not have an inverter.
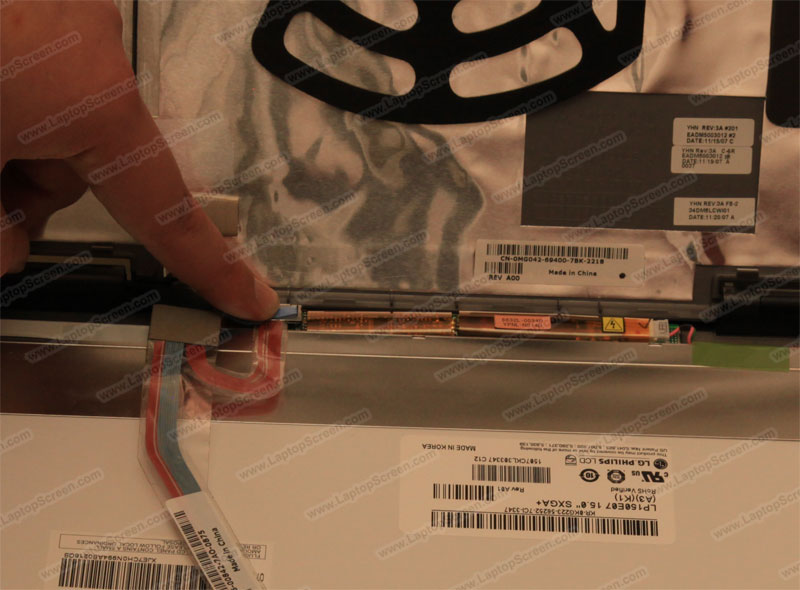
On this laptop the inverter is attached to the LCD panel, and has to be removed to be reused with the new panel.
Below are a few extra pictures of what the inverter looks like and how to disconnect the LCD panel from it.
Inverter connected to the LCD panel:
Gently pull the inverter connector out:
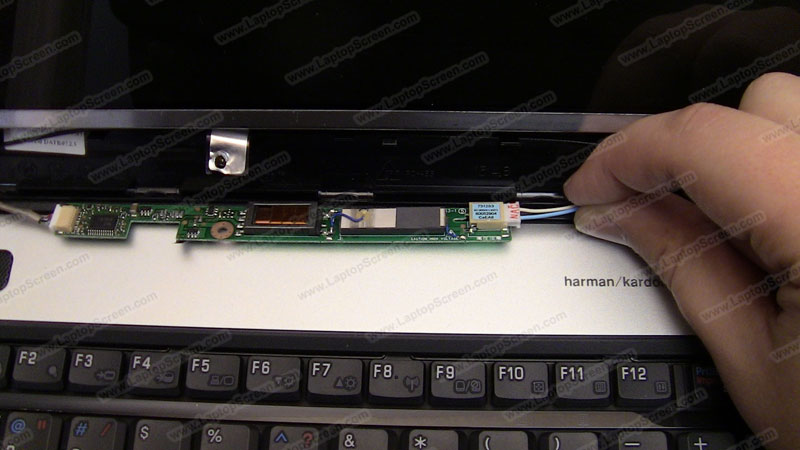
That is what the typical inverter connector looks like (Note: LED screens don't use an inverter):
12) Once the LCD panel is free from connections, pull it out and dispose of.
End of disassembly
New panel installation process.
Important! Most replacement panels ship with protective film,
it needs to be removed during the installation.
1) Reconnect the video cable on the new panel.
Make sure to align it properly, and don't use too much force.
2) Push in the inverter connector,
Again, be extra careful with all the connectors.
3) Align the LCD panel with the frame and secure the top corner screw first.
Make sure that no Wi-Fi, Camera or Mic cables are in the way.
4) Secure the LCD mounting screws on the other side, starting from the top corner screw.
5) Using both hands snap in the bezel starting from the bottom,
Move to the top consistently snapping the bezel to the display assembly.
6) Replace all bezel screws and reinstall the rubber/plastic screw covers.
Extra adhesive may be required to achieve proper fit.
7) Reinstall the battery and reconnect the power,
Then boot the laptop up, if the start up graphics appear, the screen is properly installed and working.
Need to contact us directly? Email Us!